5 minutes
Deploying Umami Analytics and Integrating it into Hugo

TL;DR
Deployed a Debian cloud image on Proxmox. Used Ansible to update the VM and install Docker. Deployed Umami via Docker Compose behind a Cloudflare Tunnel. Configured Umami and embedded the Umami tracking pixel into this Hugo blog.
Intro
I’m a bit of a digital privacy nut. I do what I can - often imperfectly - to guard my digital privacy and that of others. Those who know me in real life know I have a visceral reaction to the voluntary disclosure of personally identifiable information (PII).
Alas, I like graphs. As long as the green line goes up, I’m a happy man.
So how do you obtain pretty graphs? I could monitor Nginx access logs, but that leaves me blind in many ways. I want detailed, pretty graphs.
Wait, isn’t there a service that does analytics for free? Sure, Google Analytics and countless others. But why does even thinking about that feel so icky? Because I’d be participating in the collection, analysis, and monetization of browsing data belonging to everyone who visits my site.
But I still want graphs. What to do then?
I decided to host my own. Enter Umami: a self-hosted website analytics platform with a privacy-preserving architecture. Combined with the fact that the data never leaves my server, it feels like a reasonable compromise for obtaining my beloved graphs.
Deploying the VM
Deploying a VM on Proxmox when you already have a template is as easy as 1, 2, 3:
qm clone 9001 120 --name umamiqm set 120 --tag blogqm start 120
This clones a VM from a Proxmox template.
9001is the template ID120is the new VM ID--namesets both the VM name and hostname
qm clone 9001 120 --name umami
This is the CLI command to clone a VM on proxmox. 9001 and 120 are the unique numbers that identify the virtual machines.
In this case, 9001 is the ID of the template, 140 is to be the ID of the new virtual machine. --name is the means by which we give it a name, it will also set that as the hostname at boot.
qm set 120 --tag blog
This step is optional, but important for my workflow. I organize VMs by tag, and since PVE 9.0, bulk actions by tag are supported, which is fantastic.

qm start 120
This starts the VM. Once it boots and reports an IP address, log in via SSH.
Finally, install your SSH keys. I address VMs by hostname, which is handled by Technitium DNS via DHCP lease records.
ssh-copy-id [email protected]
Installing Docker & Updating VM w/Ansible
Jeff Geerling has made this part trivial.
He maintains excellent Ansible roles that can install Docker cleanly and repeatably, along with any other system configuration you want to apply.
Install Ansible
Refer to the Official Documentation for the latest steps. Below is an example for Debian.
UBUNTU_CODENAME=noble
wget -O- "https://keyserver.ubuntu.com/pks/lookup?fingerprint=on&op=get&search=0x6125E2A8C77F2818FB7BD15B93C4A3FD7BB9C367" | sudo gpg --dearmour -o /usr/share/keyrings/ansible-archive-keyring.gpg
echo "deb [signed-by=/usr/share/keyrings/ansible-archive-keyring.gpg] http://ppa.launchpad.net/ansible/ansible/ubuntu $UBUNTU_CODENAME main" | sudo tee /etc/apt/sources.list.d/ansible.list
sudo apt update && sudo apt install ansible
Debian trixie aligns most closely with Ubuntu noble, which is why that codename is used here.
Installing Docker & Update via Ansible
Create a working directory:
mkdir ansible_scripts
cd ansible_scripts
Create the following files.
ansible.cfg
[defaults]
inventory = inventory.yaml
host_key_checking = False
inventory.yaml
all:
  hosts:
    umami:
      ansible_host: umami.cball5.club
      ansible_user: root
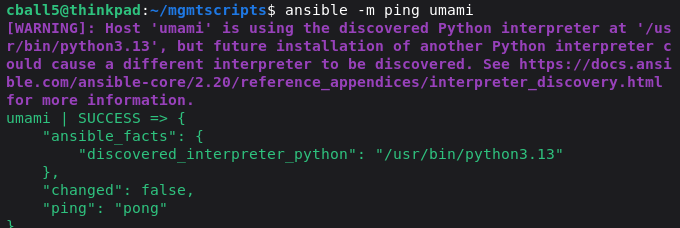
Test connectivity using an Ansible ping:
ansible -m ping umami
Now create the playbook.
installDockerAndUpdate.yaml
- roles:
    - geerlingguy.docker
  name: update and install docker
  hosts: all        # Target hosts in your inventory
  become: yes              # Run tasks with sudo (optional)

  tasks:
    - name: Upgrade all apt packages
      ansible.builtin.apt:
        name: "*"
        state: latest
        update_cache: yes
      become: yes
Install the Docker role:
ansible-galaxy role install geerlingguy.docker
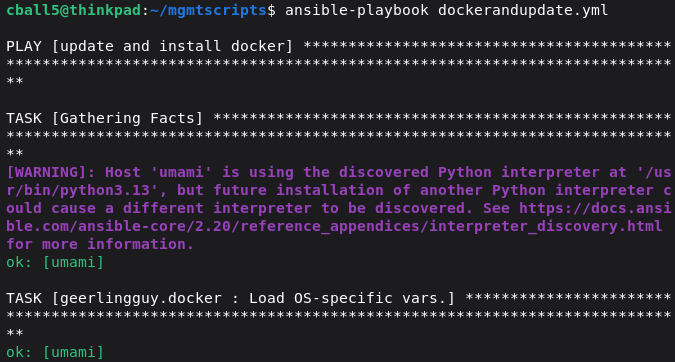
Run the playbook:
ansible-playbook installDockerAndUpdate.yaml
Booting Umami via Docker Compose
SSH into the VM, create a working directory, and download the official Docker Compose file from the Umami Github repository.
Modify it as follows to include Cloudflare Tunnel support.
docker-compose.yaml
---
services:
  umami:
    image: ghcr.io/umami-software/umami:latest
    environment:
      DATABASE_URL: postgresql://umami:umami@db:5432/umami
      APP_SECRET: replace-me-with-a-random-strina
    depends_on:
      db:
        condition: service_healthy
    init: true
    restart: always
    healthcheck:
      test: ["CMD-SHELL", "curl http://localhost:3000/api/heartbeat"]
      interval: 5s
      timeout: 5s
      retries: 5
  db:
    image: postgres:15-alpine
    environment:
      POSTGRES_DB: umami
      POSTGRES_USER: umami
      POSTGRES_PASSWORD: umami
    volumes:
      - ./umami-db-data:/var/lib/postgresql/data
    restart: always
    healthcheck:
      test: ["CMD-SHELL", "pg_isready -U $${POSTGRES_USER} -d $${POSTGRES_DB}"]
      interval: 5s
      timeout: 5s
      retries: 5

  cloudflared:
    image: cloudflare/cloudflared:latest
    container_name: cloudflared
    restart: unless-stopped
    command: tunnel run
    volumes:
      - ./cloudflared:/etc/cloudflared
    environment:
      - TUNNEL_TOKEN=<TUNNEL_TOKEN>
Getting your TUNNEL_TOKEN
This assumes your domain is already onboarded into Cloudflare.
Navigate to:
Cloudflare Dashboard → Zero Trust → Networks → Tunnels
Create a tunnel
Select Cloudflared
Copy the generated token
Insert the token and start the stack:
docker compose up -d
Configure the tunnel:
- Hostname: umami.yourdomain.tld
- Service URL: http://umami:3000
Docker’s internal DNS resolves the umami service name automatically, allowing Cloudflared to reach the container directly.
Configuring Umami
Default credentials (per the docs):
- Username: admin
- Password: umami
Adding a Website
Navigate to /websites, click Add website, and enter your site name and URL.
Obtain <script> Snippet

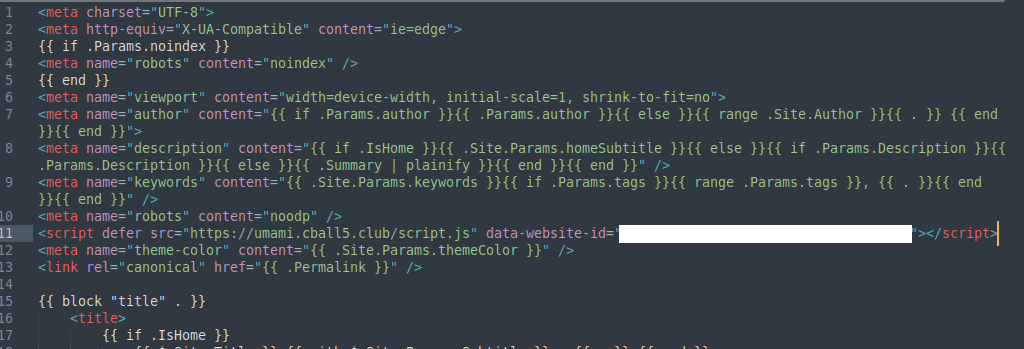
Navigate to the dashboard for the site that was just created. Click the edit button. Scroll down and copy the snippet. This will be embedded into your site.
Embedding the Umami Pixel
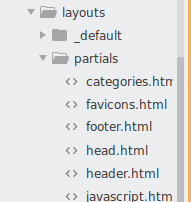
In Hugo, add the script to your <head> partial. For many themes, this is:
layouts/partials/head.html
Paste the script, save, and deploy.
Pretty graphs
Assuming the visitor’s browser allows the script to execute, Umami will collect anonymized metrics such as page views, device type, and country.
Pretty graphs achieved.
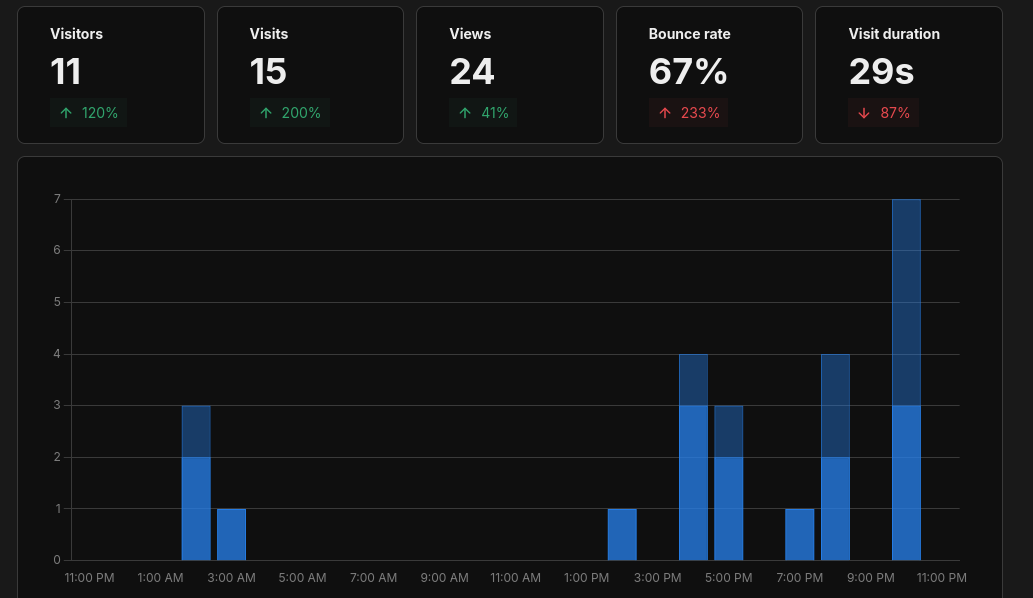
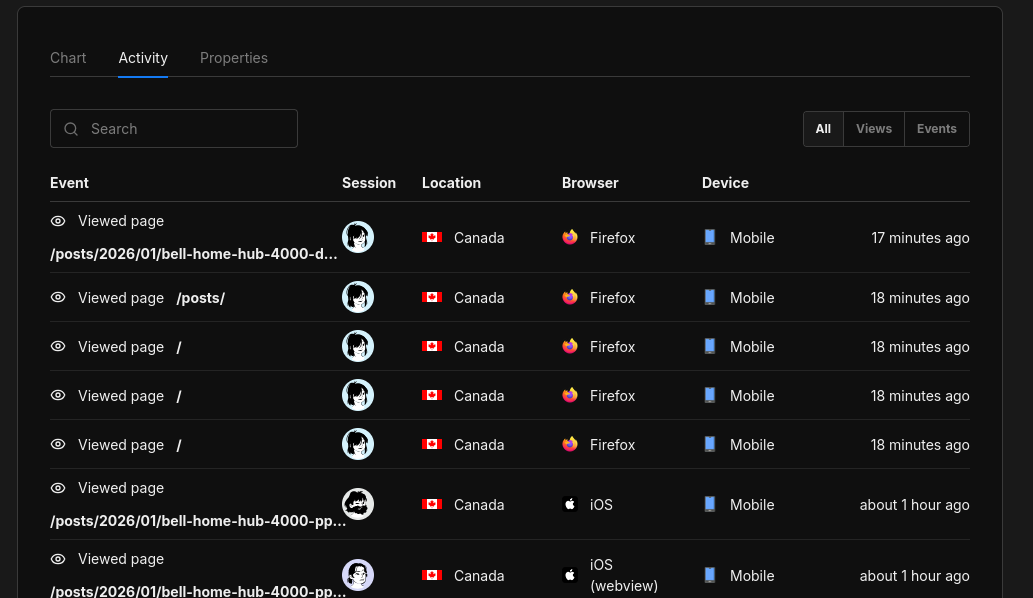
You can drill down into individual pages and events as needed.
In Conclusion
Umami provides a privacy-conscious way to gain meaningful website analytics without relying on Google Analytics or its competitors. The data stays on your infrastructure, and you still get your graphs.
homelab blog umami proxmox analytics hugo cloudflared Cloudflare Tunnel
957 Words
2026-01-24 00:00 (Last updated: 2026-05-02 05:26)
2f80c01 @ 2026-05-02