7 minutes
Lab Writeup Series: Virtual Machines
Intro
My homelab consists of just a couple of virtual machines for now. As I document my projects, I’ll record how dramatically that number changes over time. The means by which I’ve set up the hypervisor has been recorded for your viewing pleasure in the previous lab writeups.
The setup at a glance
My primary hypervisor is the Dell PowerEdge R720XD, and you can read more about the hardware here. The gist is as follows.
- It runs Debian.
- It uses QEMU/KVM as its virtualization software.
- I use virt-manager to manage it remotely.
The VMs
Each machine I am about to go over serves a specific purpose. My needs fluctuate based on circumstance and interests, so some of these machines may be inactive. The following machines will be described below:
- gh-runner
- kali
- pfsense
- tailscale
- workstation
- winxp
gh-runner
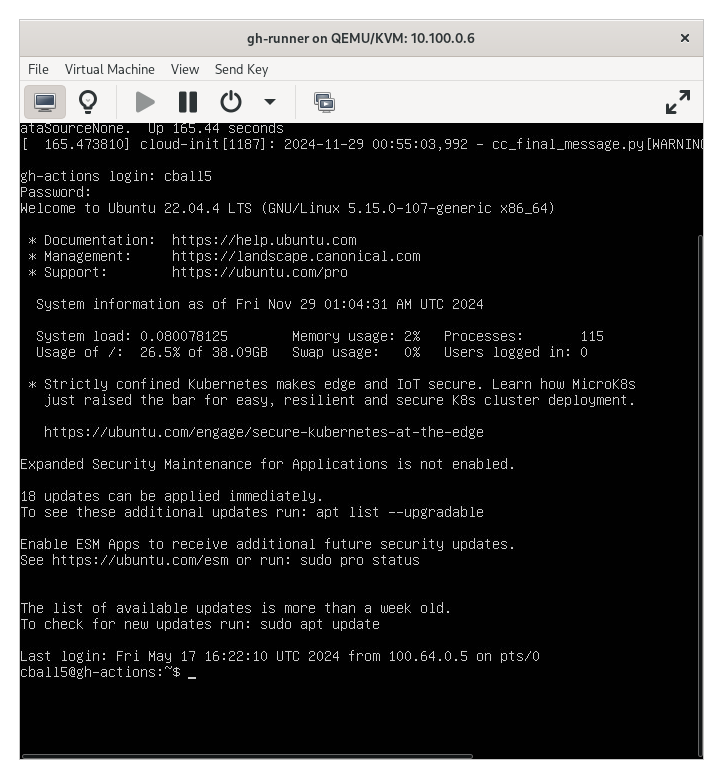
I was employed as a DevOps engineer for a time. During that time I had a mountain of things to learn, including the intricacies of GitHub Actions. I prefer to run things locally, especially since I enjoy the speed benefit. Naturally, I deployed a virtual machine and installed the GitHub Actions runner on it as per the instructions on the GitHub website here.
This setup has also been used with the Gitea Actions functionality on my self-hosted Gitea instance. I primarily used this when working on personal projects. You can learn more about that on their tutorial.
kali
The Kali VM does pretty much what you’d expect it to. I do much of my security research on this VM. I’ve put quite a few miles on this VM, especially since I used it consistently to complete all of my college career. The benefit of which was a Burp Suite license for the duration of my enrollment. You can bet I made good use of that.
pfsense
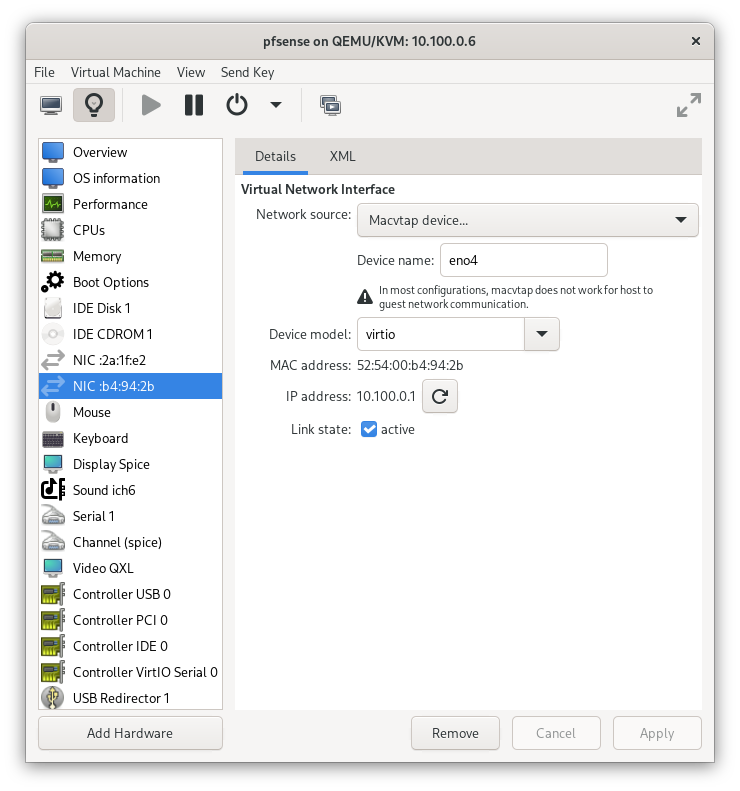
This virtual machine is the most unique of the bunch. This is due to the fact that I’m utilizing PCI passthrough (macvtap) to give 2 ethernet ports to the VM. Now why would I overcomplicate my router setup so much that I would host it on my server, where it’s a single point of failure? Because I don’t have a weak and cheap machine with which to dedicate to pfSense. I did in the past, but not anymore. I gave that to my parents so they could host some services on their own, a worthy sacrifice in my opinion. I’ll get into that another time, though.
My hypervisor, the r720XD, has a large number of ethernet ports. Some of which are not in use in other projects. This was the perfect opportunity for me to save needing another bare metal machine acting as a router and instead just have my incoming internet connection go into my server and out another port to my switch.
It is not a terribly complicated setup as far as the router is concerned. This is because the only exposed service I have is the headscale control server. It requires only a couple of ports to be exposed, and for my purposes, that is just fine.
Troubleshooting
Initially, there were some issues, which included the speed being quite slow compared to bare metal. This was remediated by researching the different virtual interface types as presented to the VM. At first they were using an emulation layer to appear as an Intel network (e1000, rtl8139) card as opposed to a virtio interface.
Lo and behold, the interface was set to e1000 as the virtual device model for the virtual interface. I switched it to virtio, hoping that the BSD kernel had built-in support for it. Sure enough, upon reboot my speeds went up from 200 Mb/s to full gigabit speeds, which I expected from my fiber ISP connection.
Tailscale
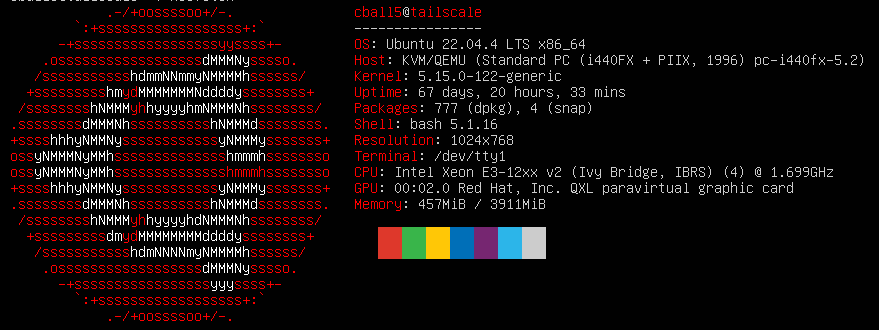
This one is my favorite at the moment.
I love a good VPN. I love a good gateway with ACL rules. Therefore, I like Tailscale. But I don’t want an external entity to have any part in that process.
Enter: Headscale.
Headscale is an open-source implementation of the control server that is normally handled by Tailscale’s backend. It does most of what Tailscale’s backend does. Admittedly, with a steeper learning curve.
Headscale allows me to provision specific users to specific services on my tailnet, grant SSH access to specific machines, create endpoints, and jump through just about whatever network topologies I find myself stuck in. It even comes with new and frequently updated mobile apps with endpoint support. All the benefits of Tailscale, all the privacy.
ACL
While the Tailscale ACL documentation is great, headscale didn’t support all of the functions of it at the time. An example of which being autogroups. Many of the examples on the site used autogroups, and translating that into specifics was not always easy.
I, of course, asked questions in the headscale Matrix chat and checked the headscale ACL documentation. In the end, it took a while to troubleshoot, but now I have a setup that I can add new devices to seamlessly with predefined access controls.
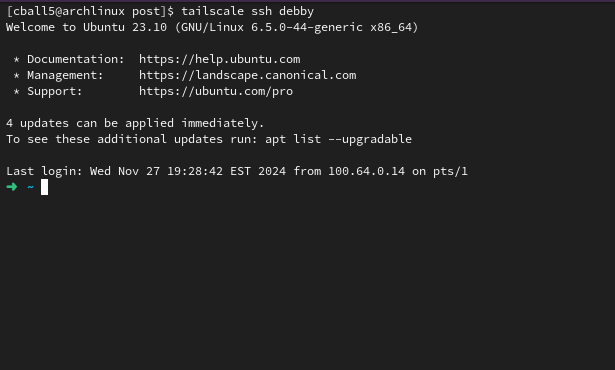
SSH

The Tailscale SSH functionality was just barely starting to be supported in Headscale around the time I adopted the project. I was running an alpha build where I had manually enabled SSH support. The documentation hadn’t quite caught up yet, so I was reading PRs on GitHub and pinging the developers on Matrix. It was a rewarding experience, being some of the first to try it. The hardest part for me was, of course, trying to make the ACL work.
Credit to the headscale team for helping me troubleshoot; I couldn’t have done it without them.
ACL Rules Example
Below is an example of my ACL rules that I’ve trimmed down for readability.
{
    "groups": {
        "group:admins": ["cball5"]
    },
    "tagOwners":
    {
        "tag:cball5":["cball5"],
        "tag:debserver":["debserver"],
        "tag:immich":["cball5"]
    },
    "Hosts":
    {
        "debby": "100.64.0.5/32",
        "apollo":"100.64.0.3/32",
        "tailscale":"100.64.0.4"
    },
    "acls":
    [
        {
            "action":"accept",
            "src":["cball5"],
            "dst":["cball5:*"]
        },
        {
            "action":"accept",
            "src":["group:admins"],
            "dst":["raspberrypi:0","tailscale:0","10.100.0.0/24:*","0.0.0.0/0:*","tag:immich:*"]
        }
    ],
    "ssh":
    [
        {
            "action":"accept",
            "src":["group:admins"],
            "dst":["debby","apollo","debserv2","immich","archlinux","fambox"],
            "users":["cball5","root"]
        },
        {
            "action":"accept",
            "src":["group:admins"],
            "dst":["tag:immich"],
            "users":["cball5","root","ansible"]
        }
    ]
}
Breaking it down a little:
The groups section is where I added my sibling, though redacted for privacy. She is able to access my Immich instance, which is only accessible via the tailnet. I will explain that later in the services post.
Tag owners allow specific users to assign tags to themselves. This is so user Jane cannot assign tags to her machines that user Bob owns. Preventing unauthorized access due to ACL that relies on tags.
The regular ACLs are simple enough to understand who can access what. Pay attention, though, to the instances where the :0 is added at the end of a hostname. This is to enable the use of endpoints or “exit nodes.” Without it, the clients wouldn’t be able to send their data through it.
Lastly, for the SSH ACL, the difference is that you specify users you want to allow logging in with. This took me a minute to figure out, along with configuring the ACL for the first time.
workstation
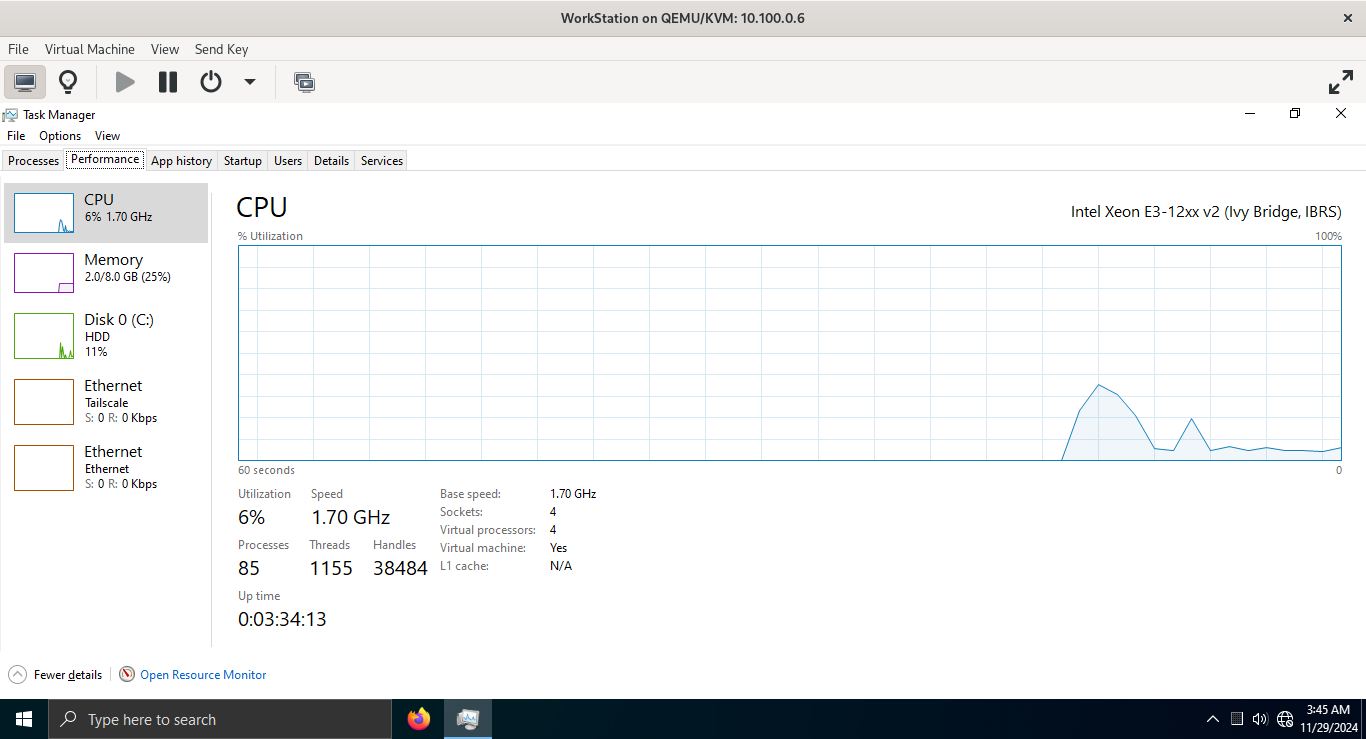
This is where I quarantine anything to do with Windows. It is where I wrote all my reports in college that required I use Microsoft Word and other programs that Linux doesn’t cooperate with. It’s nothing special; it just contains lots of virtual blood, sweat, and tears from the assignments I completed on it.
winxp
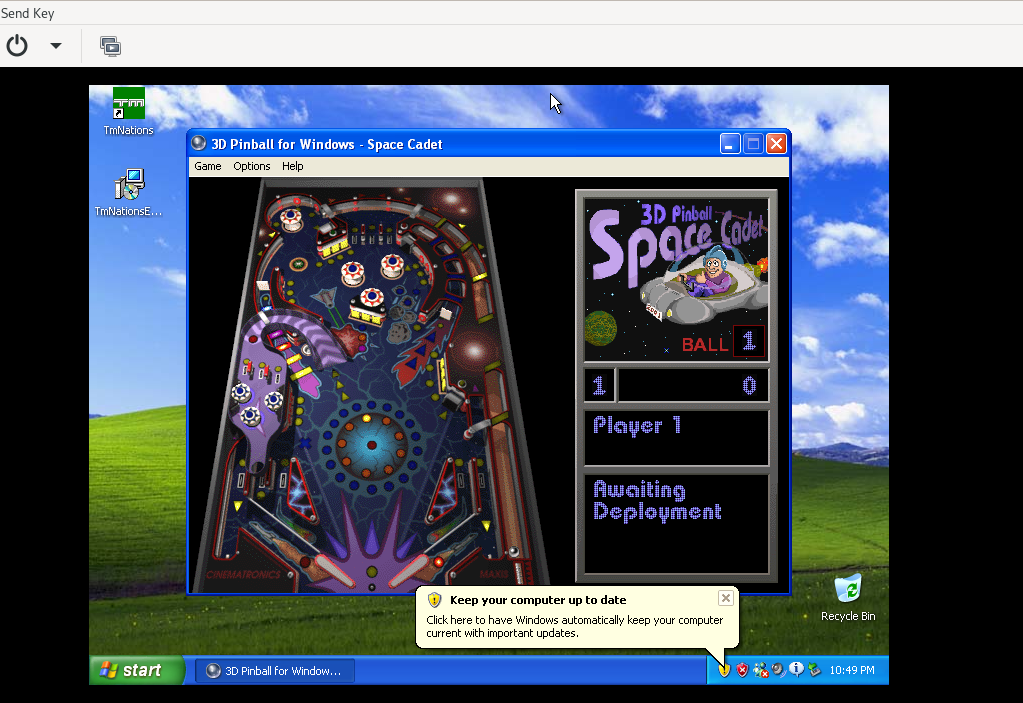
A quirky little virtual machine for one purpose: pinball. That, and the adventure of making QEMU/KVM play nice with Windows XP. The latter of which took a little fiddling with the virtual hardware.
Namely, the type of BIOS that was used. It was very picky about using specific BIOS types with specific virtual IDE drives. Who’d have thunk that Windows XP would object to me putting the newest model NVMe virtual drive in it? To its credit, it was fine with host passthrough for the CPU type. I also didn’t need to switch to 32-bit.
homelab virtual machines QEMU/KVM virt-manager
1316 Words
2024-11-28 00:00 (Last updated: 2026-05-02 05:26)
2f80c01 @ 2026-05-02